
Basic Components
Git is split up into multiple different subcommands. Here are a few essential ones to understand to use git.
Initialisation
This is not entirely necessary, however it helps to understand what is happening when you clone a repository and the fact that a folder can be initialised with git without being reliant on a remote repository.
When creating a new project locally, you can make the repository be version-controlled by running
git initIf you then run git status you will see something like:
On branch mainnothing to commit, working tree clean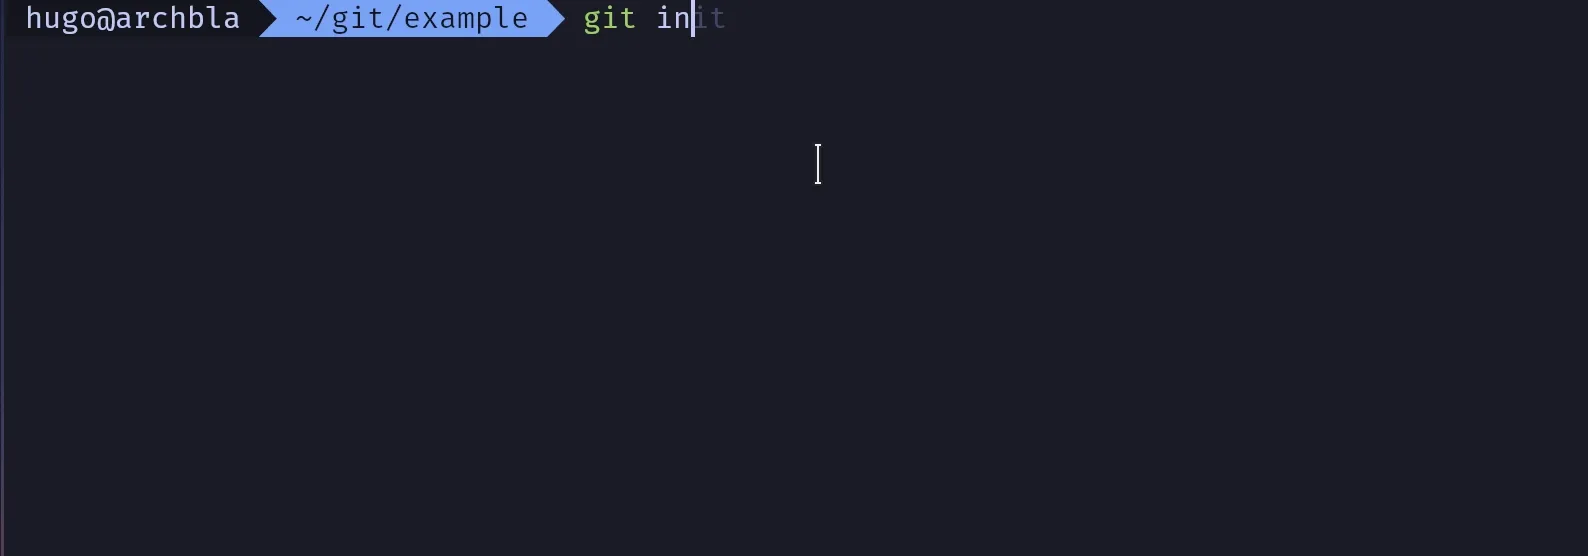
Adding a remote
Adding a remote repository is not necessary unless you want to be pushing to one as some sort of backup or if you just want to share your code.
To add one (you can also have multiple), you simply run:
git remote add origin <url>
Cloning
Cloning basically does everything we explained above automatically for you and then pulls the latest commits to your folder.
The command to clone a repository is:
git clone <url>This clones the repo into the folder with the same name as the project.
E.g. if I were to clone [email protected]:cs/wiki, it would create a
folder called wiki.
If you want a custom folder name, you just simply add another parameter e.g:
Staging and Committing
Staging and committing are essential parts of git. The process goes:
- You make some changes
- You stage those changes (basically saying “yes I want these changes to be in the next commit”)
- You commit those changes
By commit, we mean creating a group of changes which gets given an identifier and a summary. We can then use this ID to revert or do something else with those changes later on.
The summary or description just helps you understand what the changes are doing, so you can easily find a commit later on.
Staging
To stage something you can:
git add file/to/add # To stage one file at a timegit add . # To stage all changes in current directoryYou can then run:
git statusTo see the current unstaged and staged changes.
If you were wanting to unstage all the changes, you can simply go:
git reset # to unstage all staged changesgit reset file/to/unstage # to unstage a particular fileCommitting
Once you have staged the changes you want in the next commit, you can run:
git commit -m "Add setup to README.md"Which will commit the staged changes with the message “Add setup to README.md”. If you don’t specify a message, git will open your preferred text editor where you will be forced to add one.
Options:
- Specify
-ato include all unstaged changes as well (except for new files) - If you add a new line after the summary, you can add a more in-depth description.

Amending a commit
This is more of an advanced command, but it can be helpful. You probably
shouldn’t use this, because it will break things if other people have
cloned the repository. If you want to add some changes to your previous commit,
there is an --amend option which will add all staged changes to the previous
commit. It will also give you a chance to edit the commit message.
git commit --amendgit commit --amend --no-edit # If you want to keep the same commit messageAs this changes the commit itself, if you have previously pushed that commit,
you must then run git push --force (warning: this is a dangerous command).
History
If you were wanting to get the id of a commit or just see the history of changes, you can look at the log via going:
git log --onelineThis will show you the start of the commit hash (or id) and the summary next to it, including what branch is at each commit.
Branching
Branching is another key mechanic in git. Allowing multiple people to work on multiple different new features without getting in each others’ way.
It basically creates a parallel copy of the codebase: a “branch”. You can then add commits to this copy without affecting the original branch. Once you are happy with the changes you can create a merge or pull request to then merge it back into the original branch.
Therefore the process for adding a feature on production is:
- Create a branch from
main(normally named something like<username>/<description>inkebab-case) - Add commits to fix the bug or add a feature
- Create a MR (or PR)
- Merge the branch back into
main
Commands
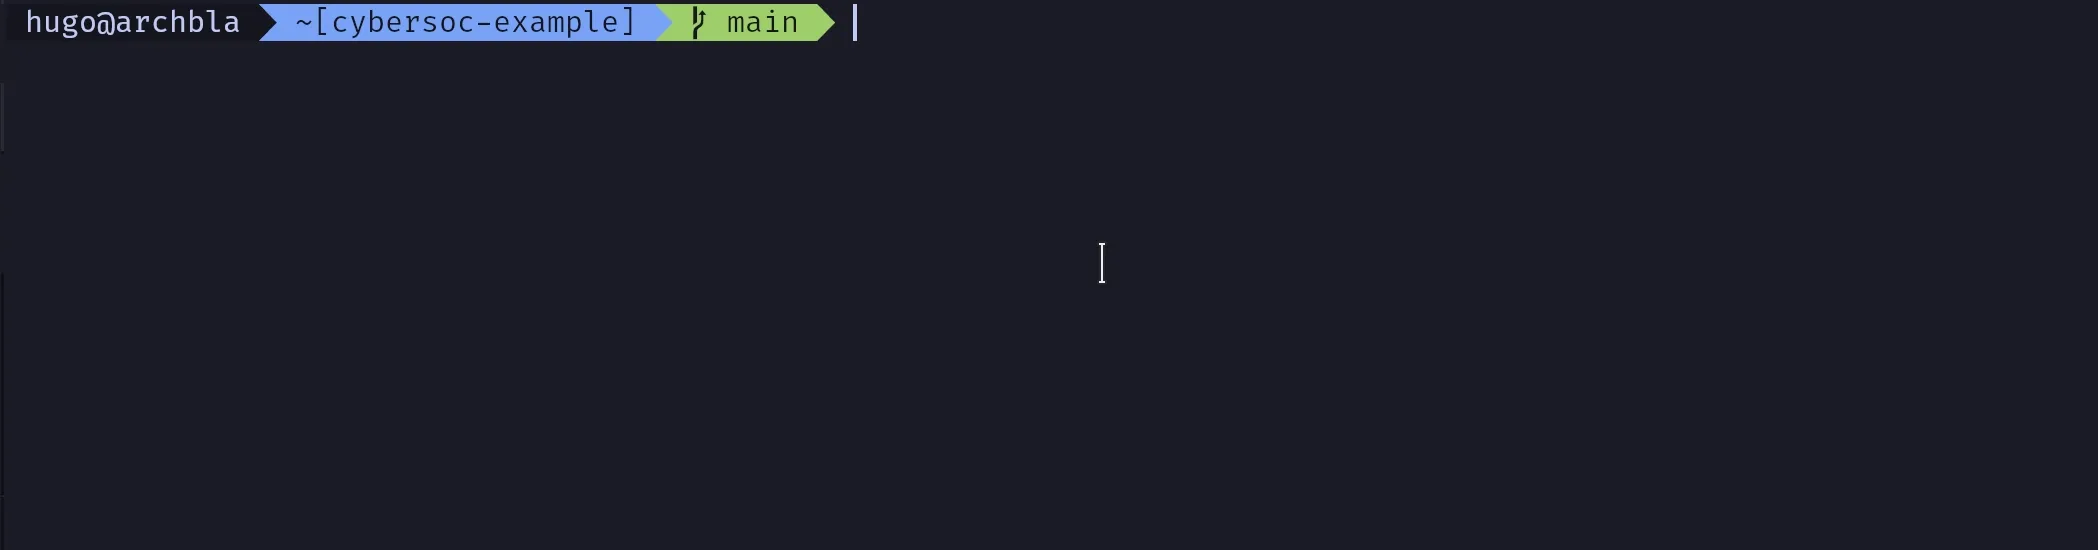
By default the initial branch should be main (you may see master being
used which is another option for the default name). This branch normally stores
the stable release of the project.
git branch # List all local branch namesgit branch branch-name # Create a new branch from the currentgit switch branch-name # Switch to the branch "branch-name"git switch -c branch-name # Create and switch to the branch "branch-name"
Pushing & Pulling
If you have setup a remote repo, you will probably want to push and pull to it. Meaning: get (“pull”) the latest commits from it and send (“push”) your local commits to it.
To push it is as simple as:
git pushHowever, when pushing a branch for the first time (after its creation not cloning) you must set its upstream:
git push --set-upstream origin branch-name# Or the shorthand:git push -u origin branch-name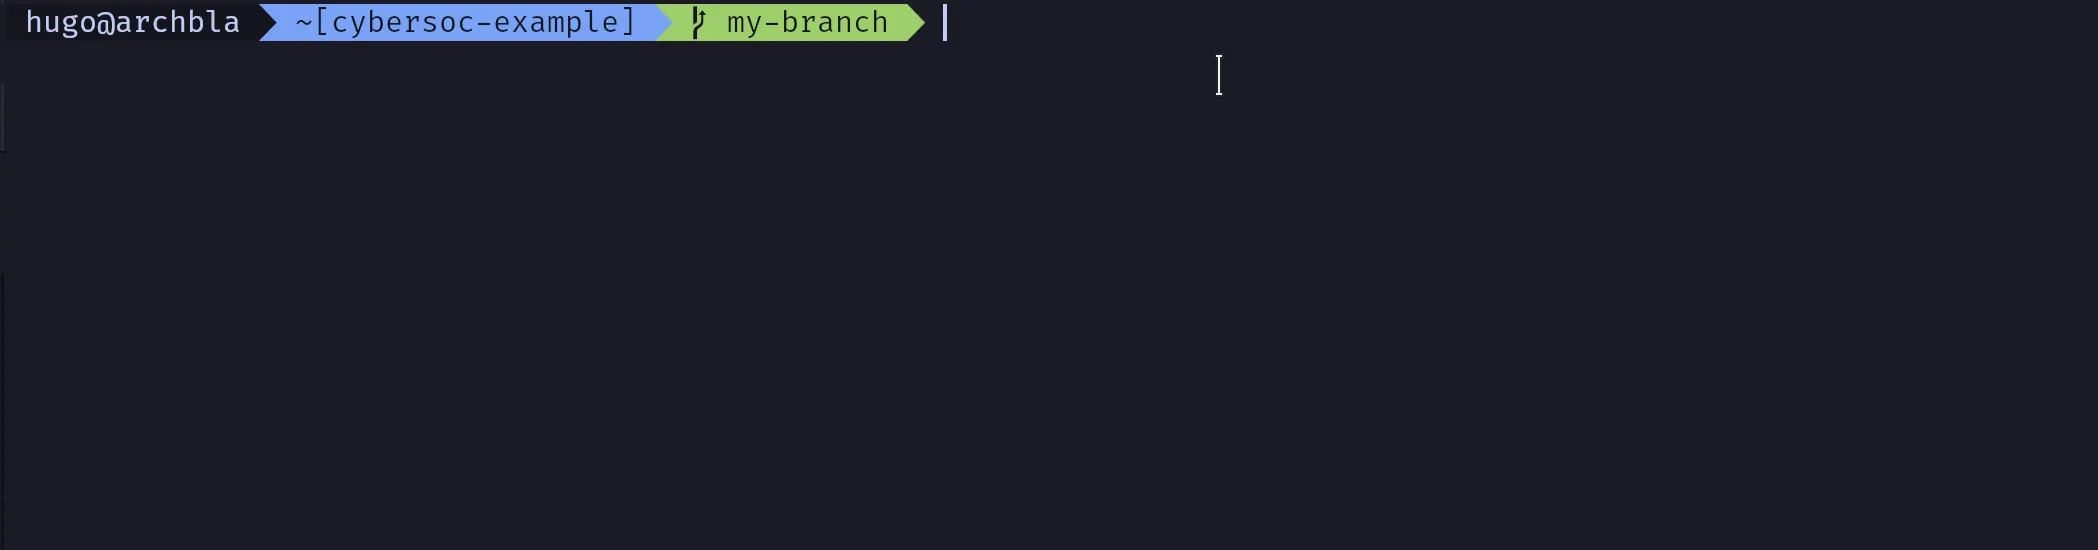
This tells git that when running git push you want to push to the remote
named origin by default.
For pulling, its even simpler, just:
git pullMerge or Pull Request
“Merge Requests” is what GitLab calls it and “Pull Requests” is what GitHub calls it.
These are just items or “requests” where a user wants their changes merged into
the main branch (or any branch for that matter).
These are usually created and managed via GitHub or GitLab and allow another person to review your changes and merge them (if it is what they want).
To see how to create an MR in GitLab see the instructions here