
GitLab
We require that the websites hosted on bathcs.com should be stored in the cs organisation on Bath’s GitLab instance. Any project used by student-led initiatives can also be stored on here.
GitLab was chosen because it has a lot more (useful) features than GitHub. However this does mean that it is aimed at people who has a basic knowledge of how to properly manage git projects.
Therefore you will need to be able to use GitLab.
Setup
You might have set this up when handing over, if you haven’t, here are the instructions. Note you will have to ask an organisation manager to add you to the organisation if you are going to be editing any current projects.
- Go to https://gitlab.bath.ac.uk
- Login with your University credentials
- Setup TOTP as your 2FA (one time codes). See our 2FA section for more information about what this is and how to add one (you can skip to the section where it says “Once you see a QR code”)
Once you have logged in, your account will be created and so can be added to organisations or tagged (using @username).
SSH Keys
If you want to commit or clone repos, you will also need to setup an SSH key:
- Create an SSH key: see our documentation for information on how to set one up.
- Go to your preferences (click profile icon then click preferences).
- Click “SSH Keys”.
- Copy and paste the public key into the “Key” section.
- Give it a title.
- Change usage type to “Authentication only”.
- Click “Add key”.
By default this will expire in a year, after which you will have to add another key in the same way.
Extra Emails
You may have already set up git with your personal email address or you have a git signing key with a specific email. You probably don’t want to edit the configuration on a per project basis.
To solve this, GitLab and GitHub allow you to have multiple email addresses linked to your account, this can be found by going to preferences (click the profile icon then preferences) then clicking “Emails”.
You can then type in another email into the box and click “Add email address”. You will then have to verify the email by clicking the link it gives you.
The CS Organisation
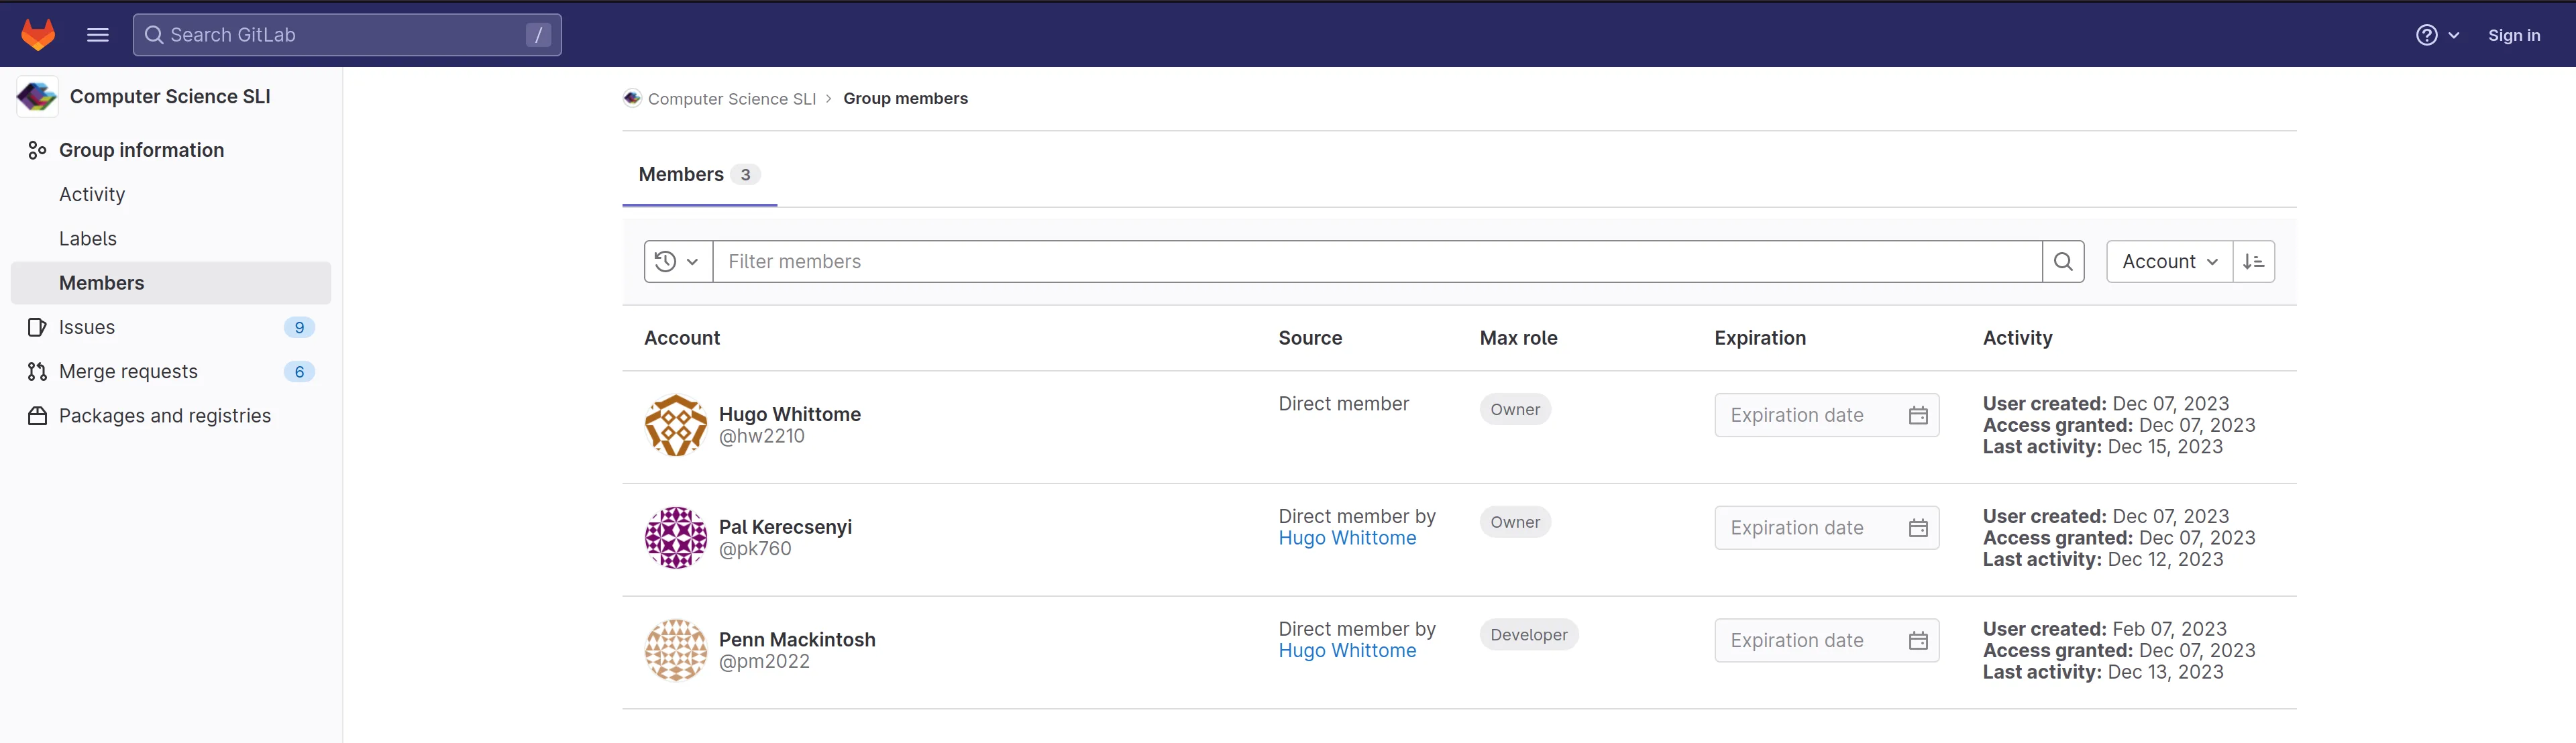
All Student Led Initiative projects are stored on the Computer Science SLI organisation. If you are a committee member you should have been given access to it. If not please contact the current owners, who can be found by going “Group information > Members”.
The organisation or group has subgroups for all societies or student-led
initiatives. You should have developer rights on all initiatives which you are
a part of, which allows you to create branches on the existing projects and
push to them. If you ask nicely you may get maintainer rights, which
will allow you to create new projects and merge MRs into main (however you
still can’t push to the main branch).
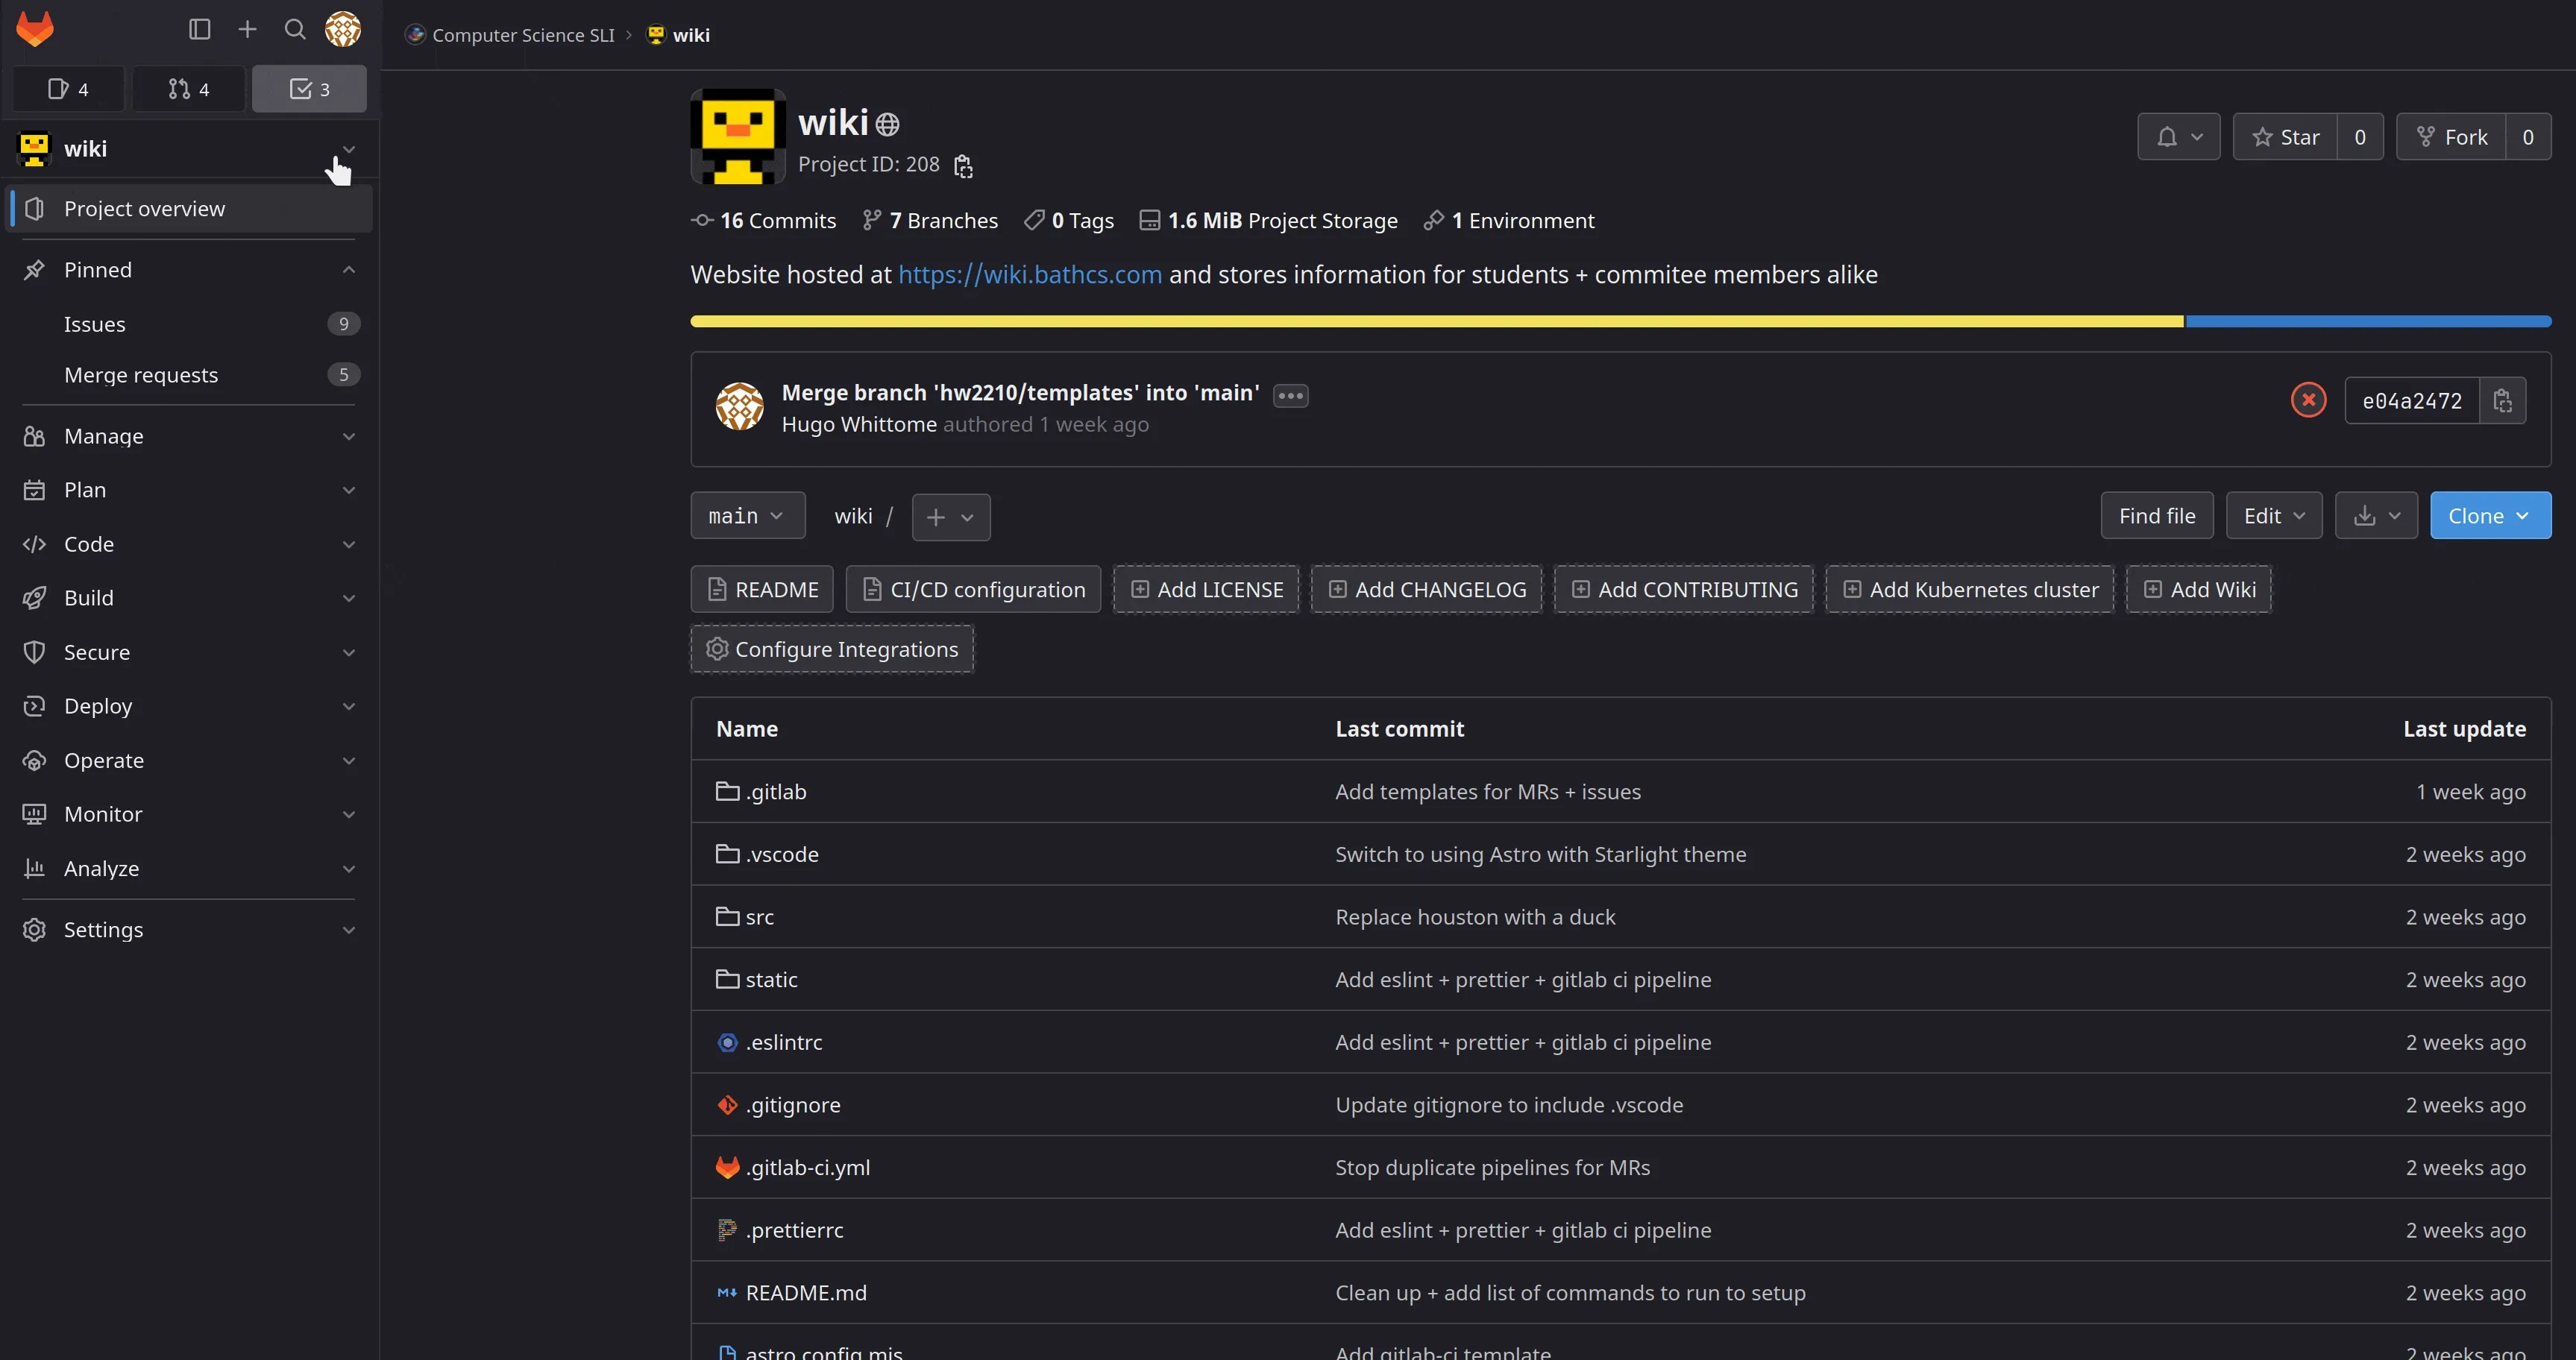
There are some projects which live outside the subgroups (e.g. this wiki) as they don’t have a organisation apart of. You will have to specifically ask permission to access individual projects for security reasons.
Issues
Creating
Creating an issue is easy, you can click on the “Issues” tab under “pinned” and click “New Issue” and start typing. The description is written in markdown. You can learn markdown on the GitLab website.
If the project is configured with templates, there should be a dropdown for you to choose the one most relavent to your issue type.
You can then assign someone an issue from the menu if you know who will be working on it. Labels are also available, but these are mostly for the maintainers of the project to use.
Once the issue is created, it will assign the issue a number (you can see this
in the URL), which you can use to cross-reference issues or MRs by
putting a # before it. GitLab will pick this up and turn it into a link (you
can also just put the link and it will be sortened). Note that issues on other
projects can also be referenced.
Managing Issues
There is not much to say about managing issues. All conversations about the issue should be done on the issue itself.
Once someone is working on it, they should be assigned the issue and it should be referenced in the MR which fixes it.
If “Closes” is put before the link to the issue on an MR, once it is merged, the issue should automatically be closed (but please always do check all the related issues are closed).
Forking + Branches
If you are a developer or maintainer on a project, you should be able to create
a branch on the project (but just not push directly main). Branches should be
under the format <username>/<fix_summary>.
If you are not a developer but would like to contribute to a project, you should be able to fork the repository into your own space to create make any edits you wish.
Merge Requests
Creating

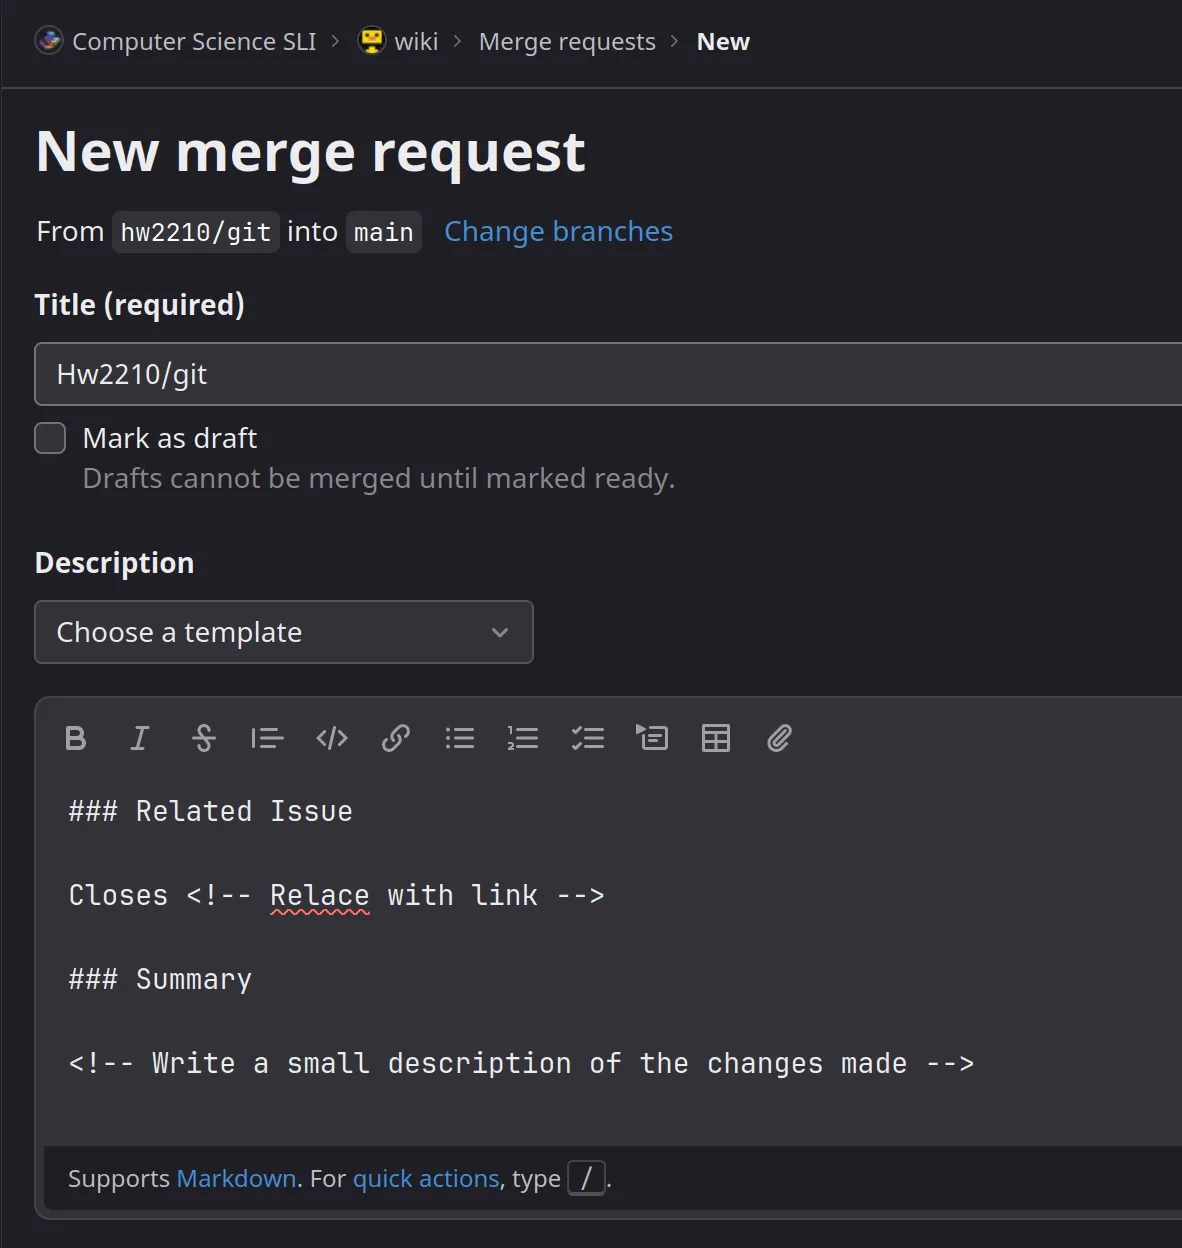
Once you have created a fork or branch, you can create a merge request,
either by clicking the link which is shown after pushing, or going onto the
project and clicking “Merge requests” at the left and choosing “New merge
request”. You can then choose the branch you want to merge from and the one you
are merging to (most likely main).
The interface is very similar to issues, with the summary written in markdown and templates available.
If the Merge Request is not finished, and so still a work in progress, you can click the “Mark Draft” button or put “DRAFT: ” at the start of the summary.
You can then assign the MR to yourself (as you will be managing it). You then also want to set the reviewer to a maintainer who can then merge the issue.
If the MR depends on another MR to be merged beforehand, please add the “blocked” label and mention what its blocked on in a comment or the issue directly.
Managing
Sadly as the university does not pay for premium GitLab, we have to do most security practices as manual steps. So please do not go against these procedures, we beg of you.
If you are the reviewer of a MR, you can go onto the “Changes” tab where you can see all the differences between this and the main branch. There is a settings button where you can change parts of the look. I recommend enabling “show whitespace changes” to help find where people have accidentally left trailing whitespace.
You can then add a comment on a line by hovering over the line and clicking the comment button on the left hand side. You can also do this on images if you wish.
When adding a comment you have the option to “start a review” which is recommended if you are going to be making multiple comments as it send them out all at once instead of having a separate email for each comment (which is a lot).
If you drag the comment, you can also select multiple lines which is useful for segments of code which need changing.

It is expected that the assignee will then resolve all of these issues so it is not up to the reviewer (but as we are students they may need chasing).
Once you are happy with the MR, you can then approve the merge request before merging it.
Please make sure that:
- You don’t approve your own MR
- Don’t merge something without approval (if it is going into
main) - Don’t approve without actually reading all the changes
Creating a new Project
Over time we may want to add more projects to the organisation. This page focuses on creating projects from scratch. If you are just wanting to mirror, see the page about mirrors.
When creating a new repo or project, you need to decide which subgroup it should go under. This should be quite simple, however you may decide a new subgroup is required.
If you are not a maintainer in a repository, you will have to find the maintainers of the subgroup and ask one of them to set up the repo for you and then add you to the access list.
Other things to consider when creating a project:
-
Name (please make this understandable about what it is for)
-
Visibility level:
- Private: only people with access can see it (preferably not), however is understandable if you are just testing out a project.
- Internal: Only bath students can see it when logged in, this is useful for things which interact with University of Bath services which they may not want known to the public.
- Public: This should be used for most projects to encourage the open source nature of the community.
Once a repository is created you can add it as a remote to your repo or clone it.
You should then:
- Go to “Settings > Repository > Protected branches” and change “Allowed to push and merge” to be “No one” and make sure “Merge MRs” is set to “Maintainers only”.
- Add a description or logo in the “Settings > General” tab
- Add a license as explained here.
Manage Access
You can choose who can access the repository in “Manage > Members” if you are a Maintainer or Owner.
To add new person you can click “Invite members” and type in their username (they will need to have signed into GitLab for their username to appear).
You then need to choose their role. It is recommended to put them as
“Developer” unless you want them to be able to merge requests into main, then
put them as “Maintainer”.
Labels
Under “Manage > Labels” you can add or create labels which can be used on merge requests or issues. You should inherit any labels from the parent group, and preferably labels should be group wide. But you can create a label and ask an Owner to upgrade the label to a group label by clicking the 3 dots.
Issue + MR Templates
In your project, you may want to have templates for people creating issues or MRs to save them time and to standardise them.
This is quite simple to do in GitLab as explained here.
In short, you need to add markdown files to .gitlab/issue_templates/ or
.gitlab/merge_request_templates/. The default should be named default.md.
Examples:
-
.gitlab/issue_templates/default.md### Summary<!--Add brief summary explaining the issue-->### Steps to reproduce<!-- Add brief instructions to reproduce the issue --> -
.gitlab/merge_request_templates/default.md### Related Issue<!--Replace with the related issue number-->Closes #### Summary<!-- Summary of what the MR does -->### Testing<!-- Summary of the testing done to validate the MR --> -
.gitlab/merge_request_templates/bug_fix.md### Summary<!-- Summary of what the the bug was -->### Testing<!-- Summary of the testing done to validate the MR -->
CI Pipelines
GitLab pipelines are super powerful and I don’t think I could write better documentation than GitLab themselves (which can be found here).
This is just here to say they do exist and they should be used for automated testing or even deployment.
The configuration can be found in the .gitlab-ci.yml file.